12 Types of Cake Topper Design Ideas You Can Do With a Silhouette Cutter Machine
 Ionice
Introduction
If you've ever admired a beautifully layered cake topper at a party and wondered how it was made, chances are it came from a Silhouette cutting machine. My Silhouette is ready to cut any design I can dream up — from elegant fancy-text greetings to intricate, multi-layered themed designs. The only real limit is your imagination, and honestly, the results often look even better than anything you'd find store-bought.
That's the real appeal of making your own cake toppers: complete creative control, at a fraction of the cost of ordering custom ones. Over the years of cutting hundreds of designs, I've learned that a few simple techniques — layering, adding backdrops, framing, and choosing the right materials — make the biggest difference between a topper that looks flat and one that looks genuinely professional.
In this guide, I'm sharing 12 cake topper design styles I personally use, along with practical tips on materials, layering techniques, and finishing touches for each one. Whether you're making toppers for your own celebrations or starting a small cake-topper business, these ideas will give you a solid foundation to build your own designs from.
1. Plain Greeting – 2-Layer (No Name)
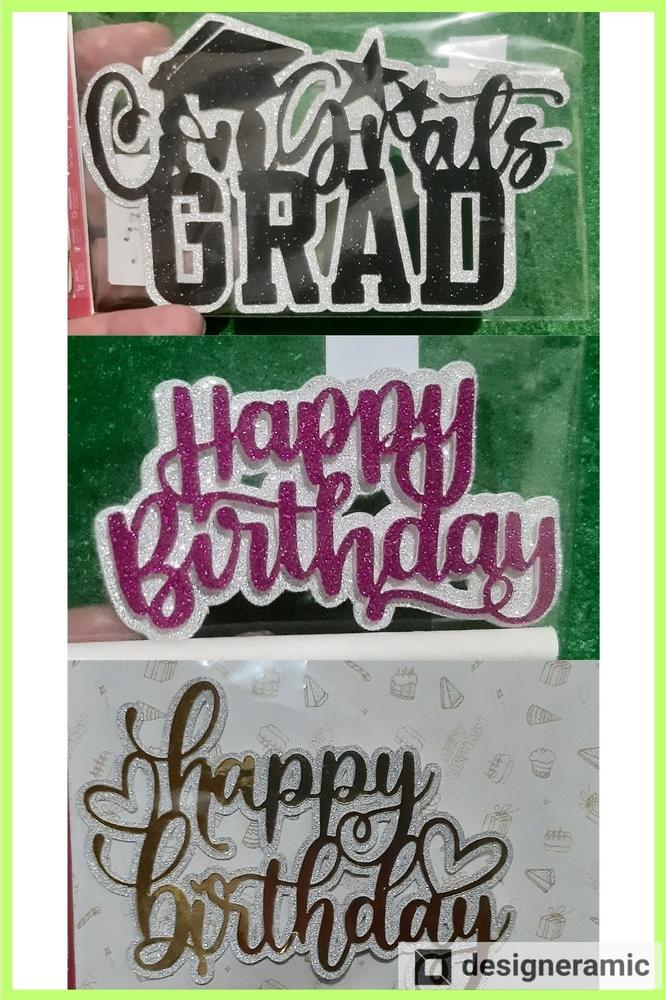
Whether you are planning cake toppers for business or personal use, you can create these two-layered cake toppers that are ready to use whenever needed. This design uses cardstock, metallic cardstock, or a combination of both. Just make sure there is enough contrast between the two colors. You’ll also find two-layered cake toppers that use an almost monochromatic color combination, such as red and pink.
Using a silver glitter board as the backdrop is another common color combination.
In Silhouette Studio, choose Offset to create the secondary outline.
You can secure the two layers using glue. Alternatively, for a three-dimensional effect, use foam tape between the layers.
You can either secure the two layers using glue or to have that three dimensional effect, use a foam tape.
2. Add a Backdrop – 1-Layer Cake Topper
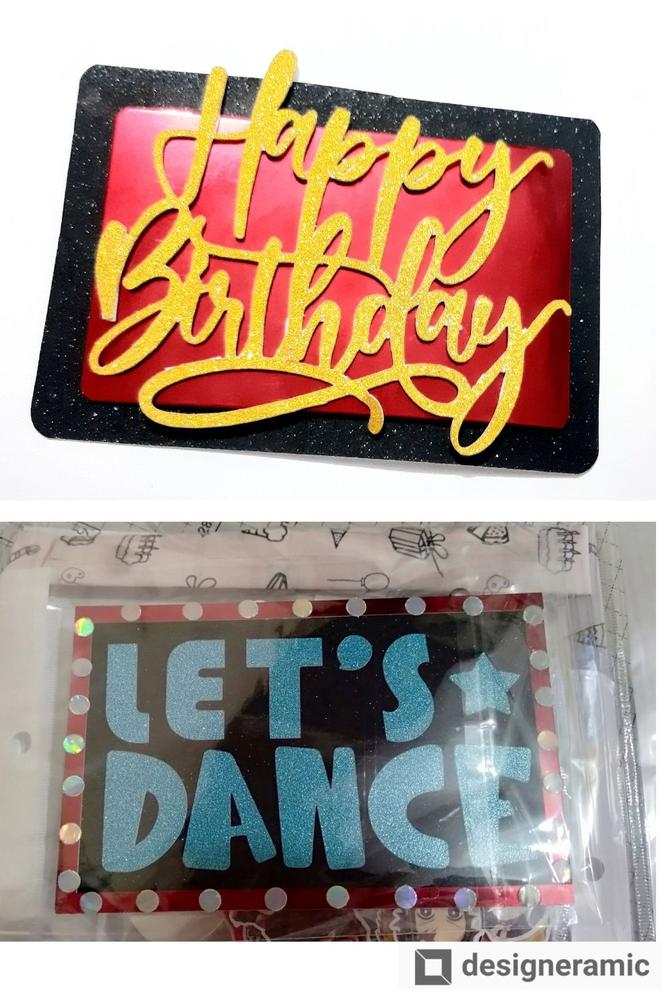
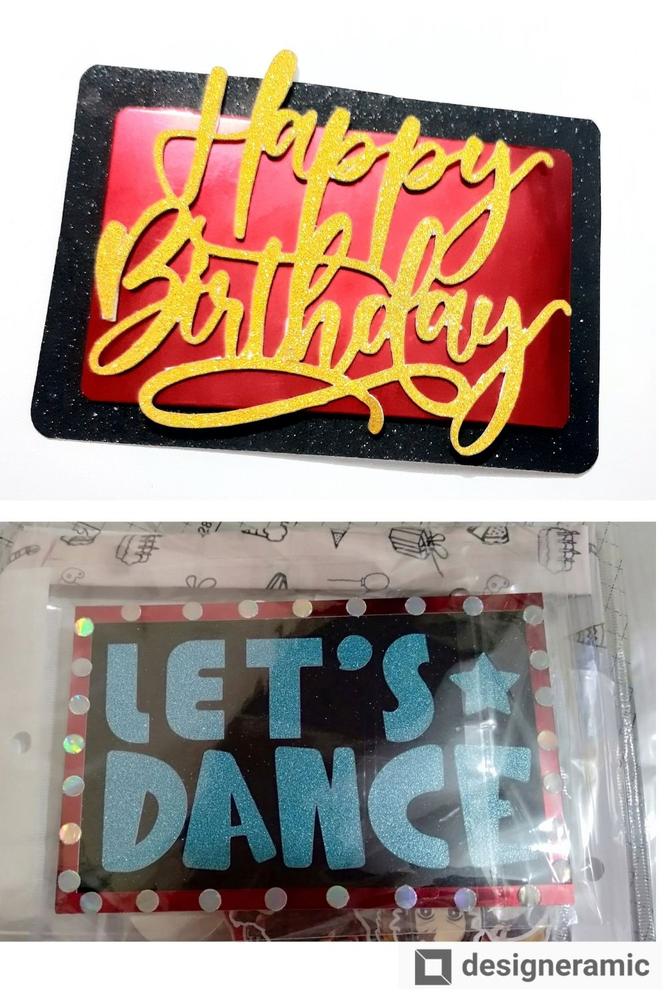
Even with a one-layer cake topper, you can add a backdrop to make the design stand out. Use a metallic or glitter board behind the main design to add contrast and give more emphasis to the lettering.
In this example, the gold lettering pops against the red and black backdrop, creating a bold and eye-catching combination.
Adding a backdrop is also a practical solution when using fonts with very thin or delicate elements. These details can look flimsy or may not stand out well when placed directly on the cake. A backdrop provides additional visual weight and helps make the lettering more visible and sturdy.
Tip: Choose a backdrop color that provides enough contrast with the main lettering. A metallic or glitter finish can also add dimension and a more festive look without adding another layer to the main design.
3. Greeting with Number
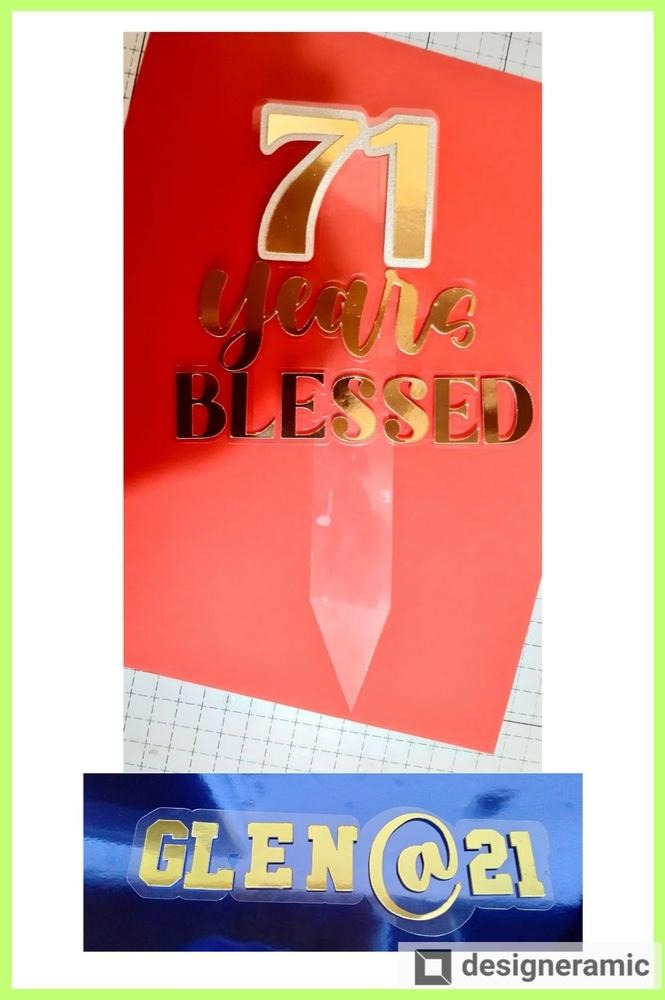
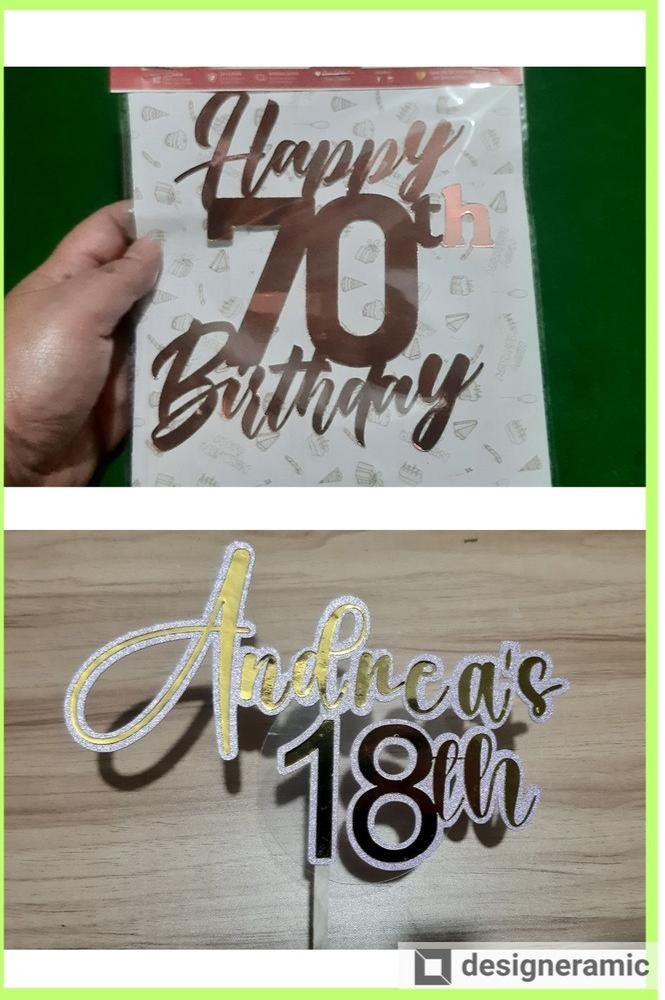
Aside from names, numbers—particularly the celebrant’s age—are another element you can add to a cake topper. Just make sure you double-check that you are using the correct age before finalizing the design.
The sample shows a simple font style for the numbers, allowing the age to complement the main greeting without overpowering it.
An acrylic sheet can also be used as a base or supporting element for the design. If it will come into contact with food, make sure the material is specifically suitable for food contact.
4. Add Circular Frame
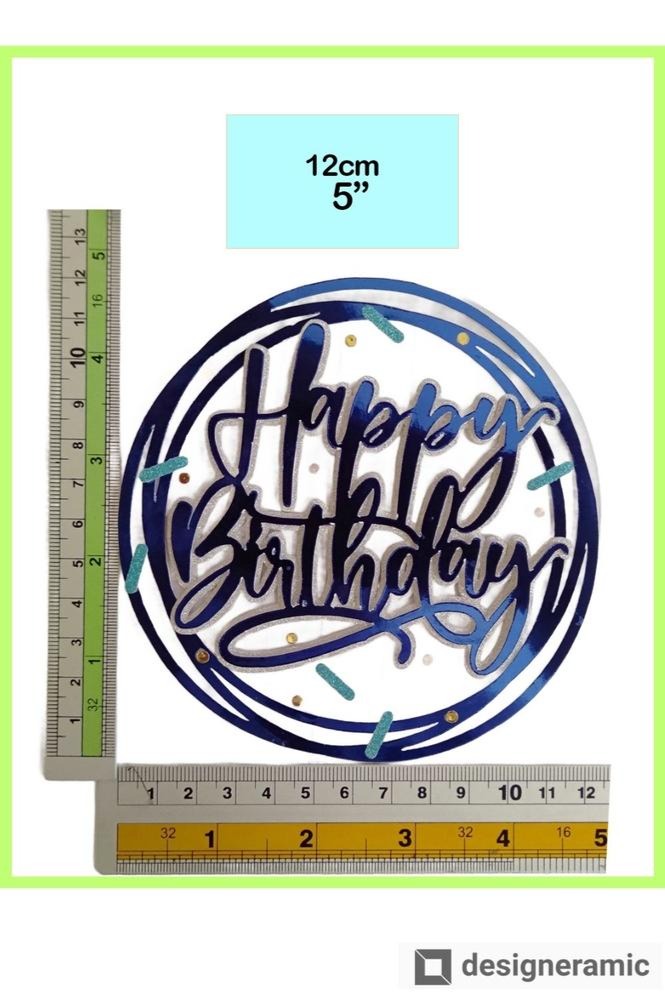
A circular frame gives your cake topper a more structured look while adding visual weight and volume to the overall design. It also helps secure the edges of the lettering, making it possible to use fonts with thinner or more delicate tail ends without compromising the topper’s stability.
5. Clear Acrylic Backdrop – Floating Elements
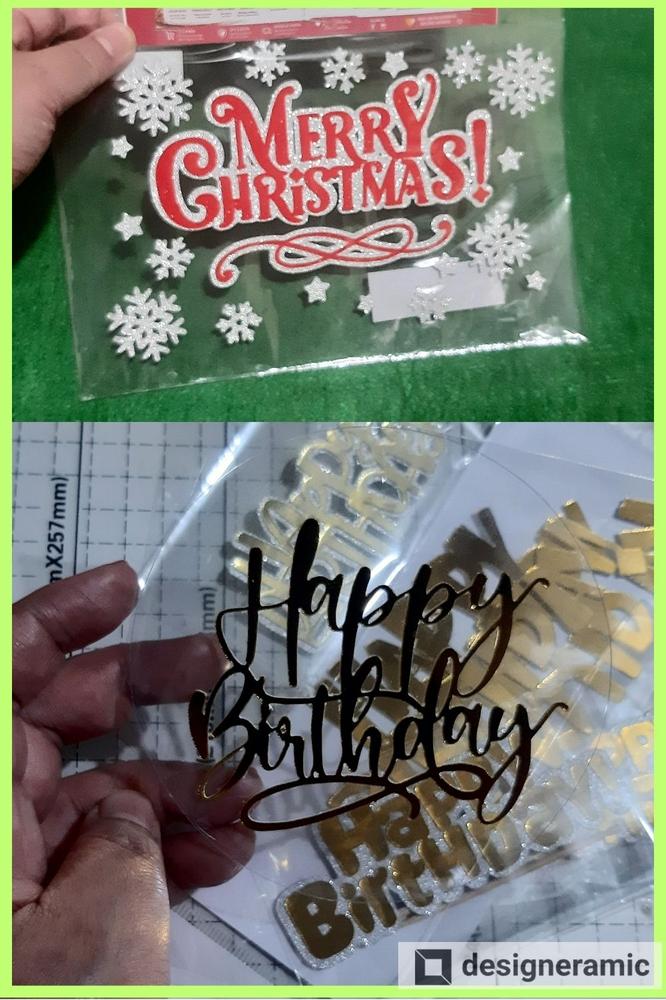
If you want your lettering to have a floating effect, you can use a clear acrylic backdrop. With a 2 mm or 3 mm Kraft Blade, you can cut the acrylic sheet into almost any shape you want, depending on your design.
The transparent backdrop also allows you to add embellishments without visually blocking the cake. For example, this Merry Christmas cake topper combines floating lettering with snowflake embellishments for a festive look.
6. The Compact 3-Layer Design
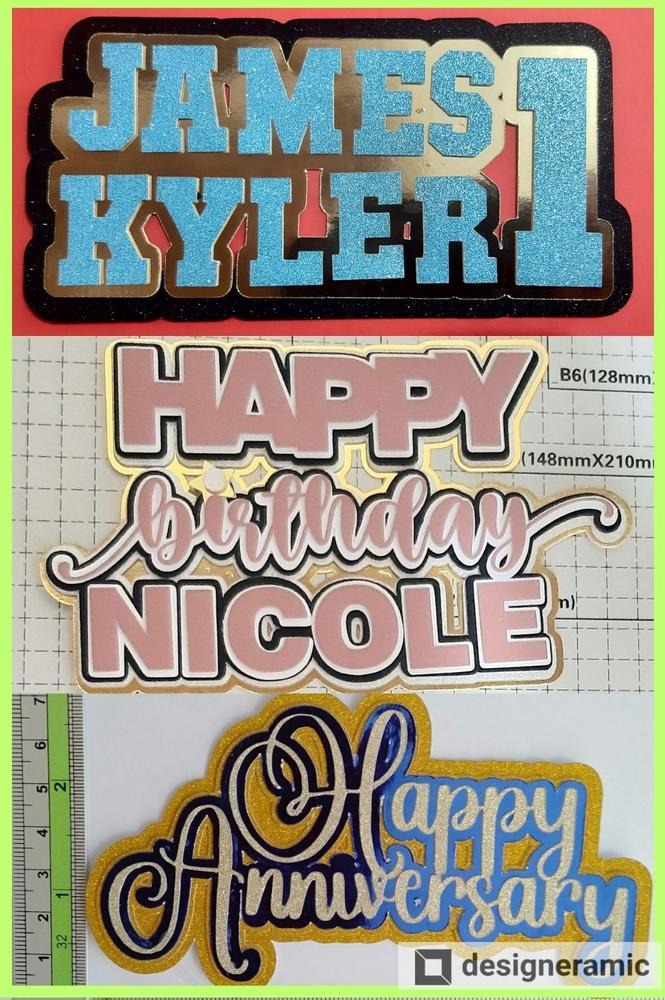
Combine two or three short words and stack them across two lines to create a compact yet impactful cake topper design. Using three layers of different colors adds visual interest and gives the lettering more depth.
You can also mix glitter and metallic boards to introduce different textures and finishes. This combination creates a more dynamic look while keeping the overall design compact and easy to read.
7. Lay-Flat Cake Topper
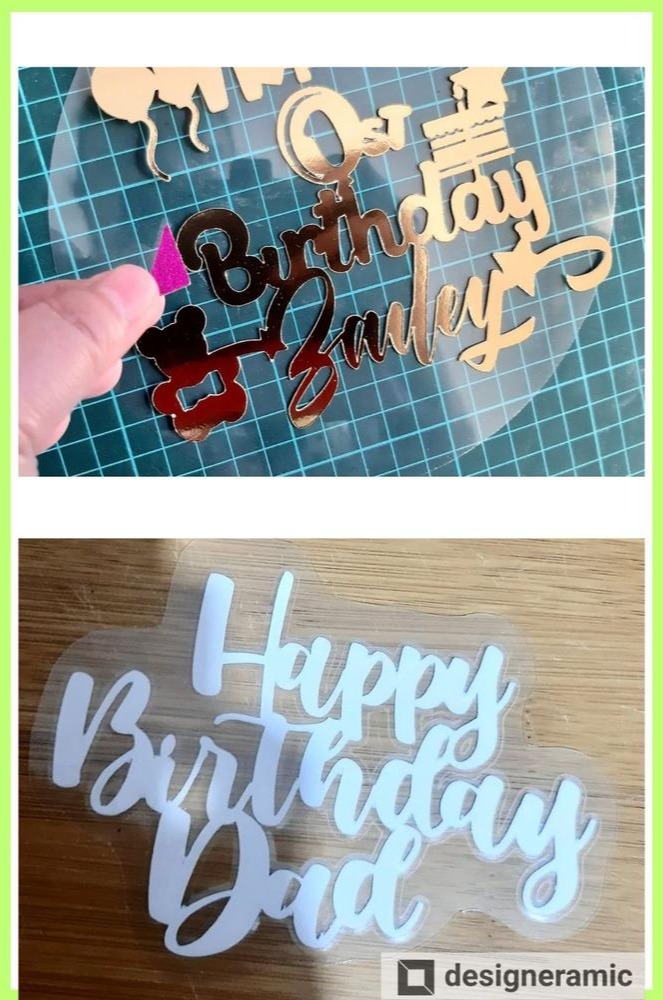
Adding a clear acrylic backing allows you to incorporate embellishments around the main design while providing additional support. The acrylic sheet also helps prevent icing or moisture from seeping into the cake topper.
If you are using cardstock instead of acrylic for your cake topper, adding a clear acrylic backing can help protect both the topper and the cake. It also provides a more stable surface, allowing the topper to lay flat against the cake without the cardstock coming into direct contact with the icing.
8. Silhouette Images
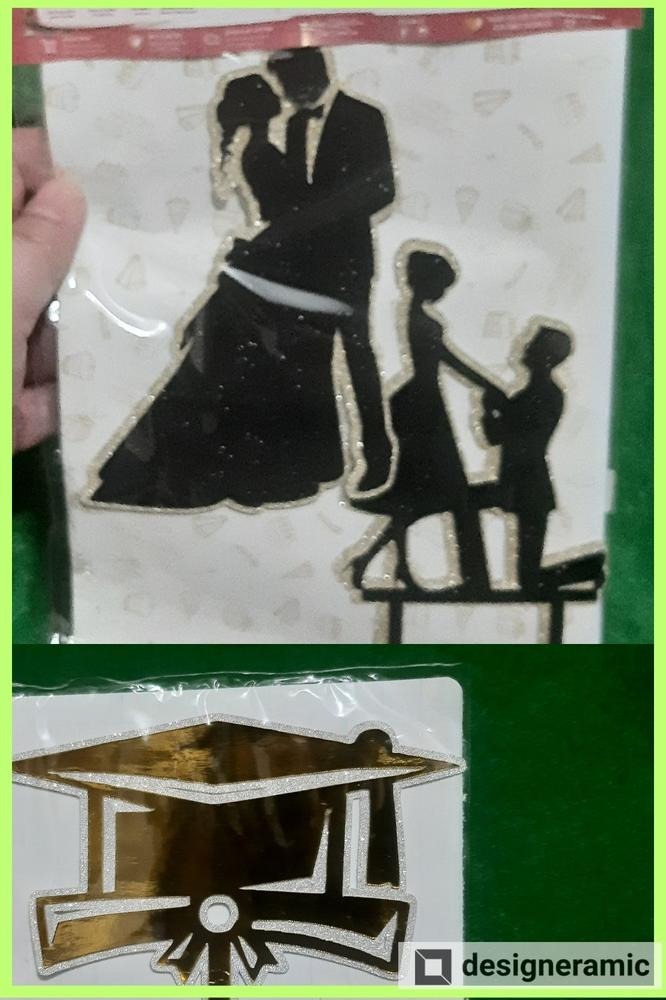
Aside from fonts or text images, silhouette images is a beautiful cake topper option that can either be a stand alone cake topper or used together with a monogram or text-based cake topper.
You can also layer behind your silhouette. The offset adds volume and visual interest to the cake topper.
Check our Silhouette Maker Plugin to quickly turn pictures into clear outlines.
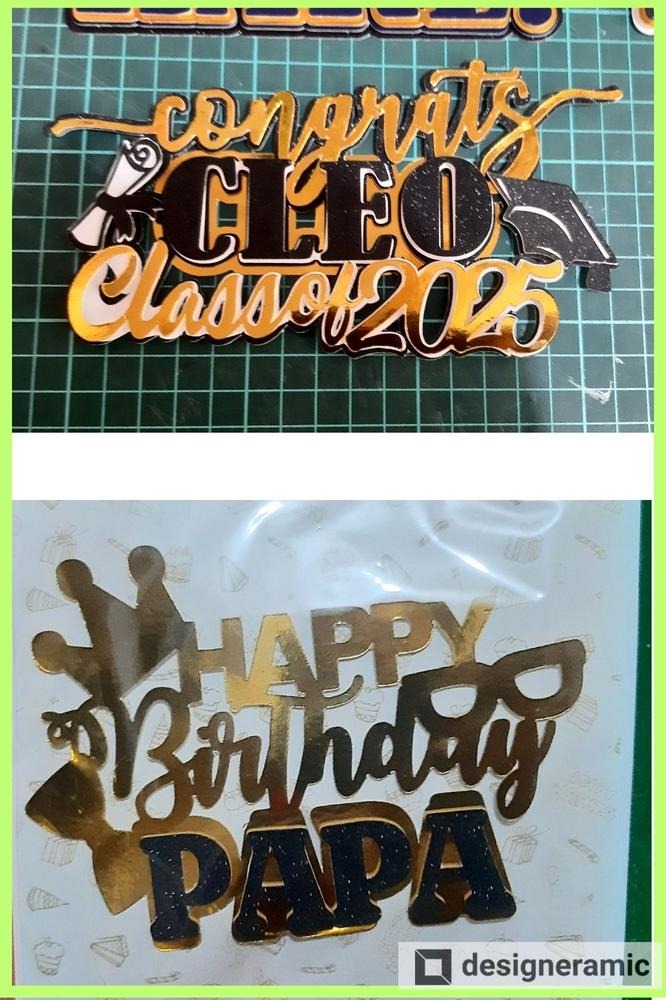
9. 2-Color Script Cake Topper
Make the celebrant’s name or age stand out by using a contrasting color for that specific element of the script. This creates a visual focal point while adding more interest to the overall cake topper design.
Because the different elements may have uneven weight or proportions, you may need to add a backing layer for additional support and stability.
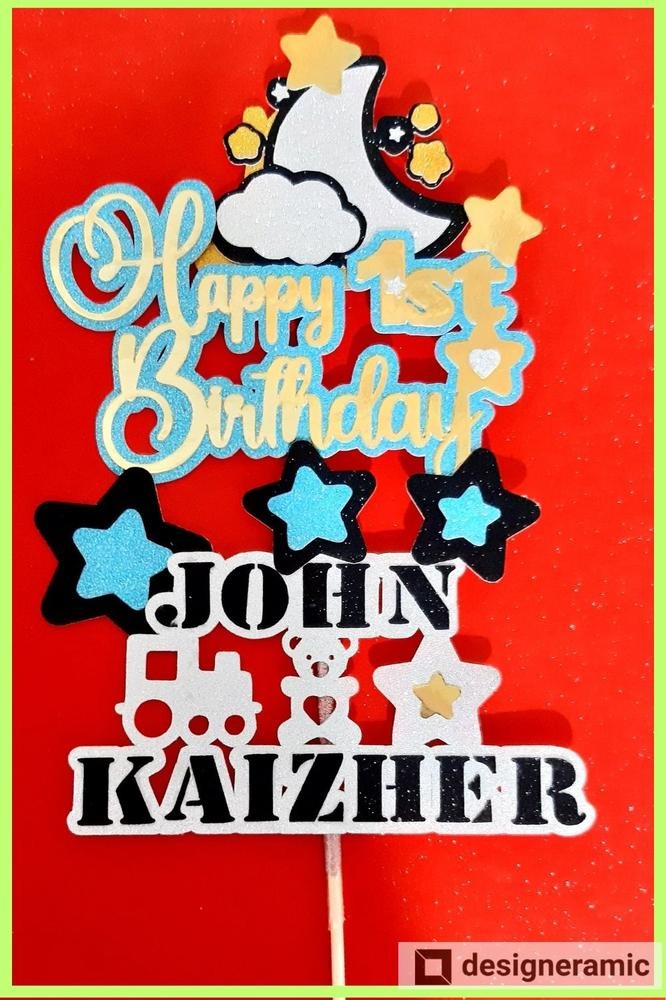
10. Stack Up Cake Toper
This design combines both script and silhouettes. Added layers are done to emphasize shapes. The vertical design is great for multi layered cakes to add impact but can overwhelm the visual look if not properly designed. Make sure colors and aesthetic goes with the cake theme and colors don’t clash. You’ll need supporting elements at the back.
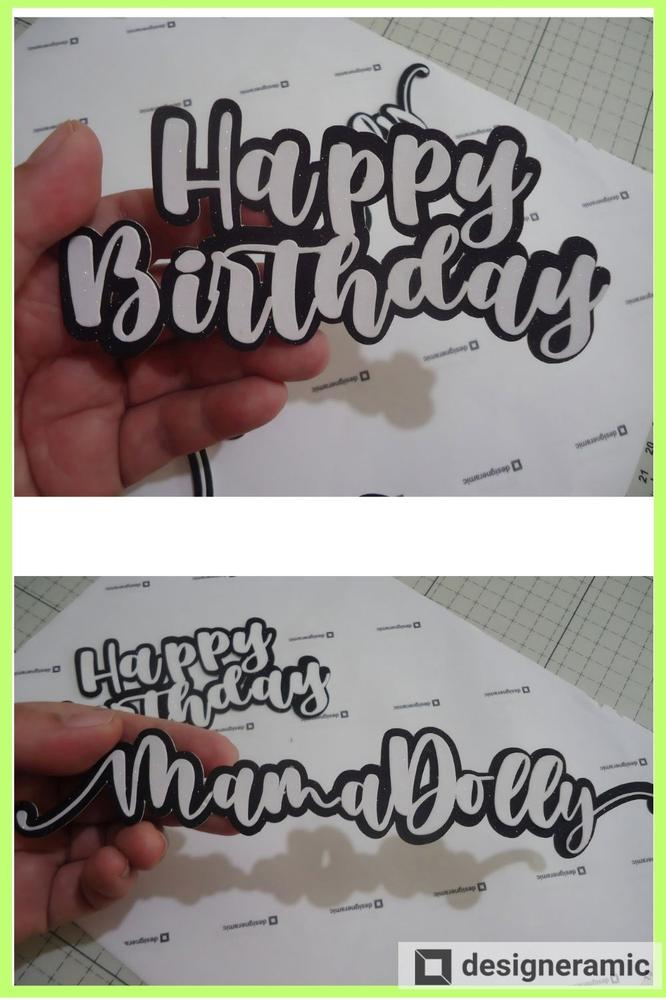
11. Simple Black and White Combo
If you have a white or black cake, a simple contrasting color combination such as black and white can create a striking look without becoming visually overwhelming.
In this example, the cake topper uses simple cardstock finished with cold lamination film, paired with a black glitter board as the backdrop. The combination adds contrast and a touch of texture while keeping the overall design clean and understated.
12. Layered and Framed Personalized Cake Topper
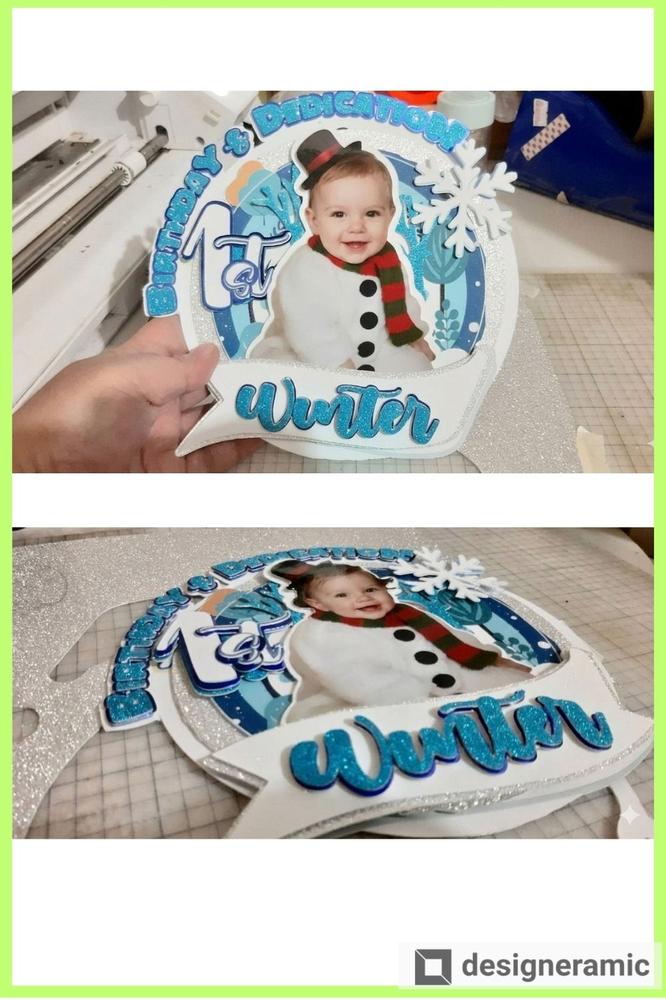
This design uses multiple layers to create a three-dimensional effect, similar to a shadow box. The sample cake topper combines glittered and printed elements, with the image serving as the main focal point. This can be a photo of the celebrant or a company logo, depending on the occasion.
Because of its more complex design, this type of cake topper usually takes longer to cut and assemble. It is best to arrange and prepare all the elements at once in Silhouette Studio to make the cutting and assembly process more organized.
You can also label each element with a number on the back as soon as it is cut by the machine. This makes it easier to identify and assemble the layers in the correct order.